3×4 and 4×6 ID photos: pixels and print sizes
Compare 3×4 and 4×6 cm ID photos, calculate pixels at 300 PPI and print at actual size. Avoid stretched faces and incorrect print scaling.
The 3×4 and 4×6 cm formats are common in Vietnamese applications. Other countries and documents may require different dimensions; check the receiving authority’s instructions.
How do 3×4 and 4×6 ID photo sizes differ?
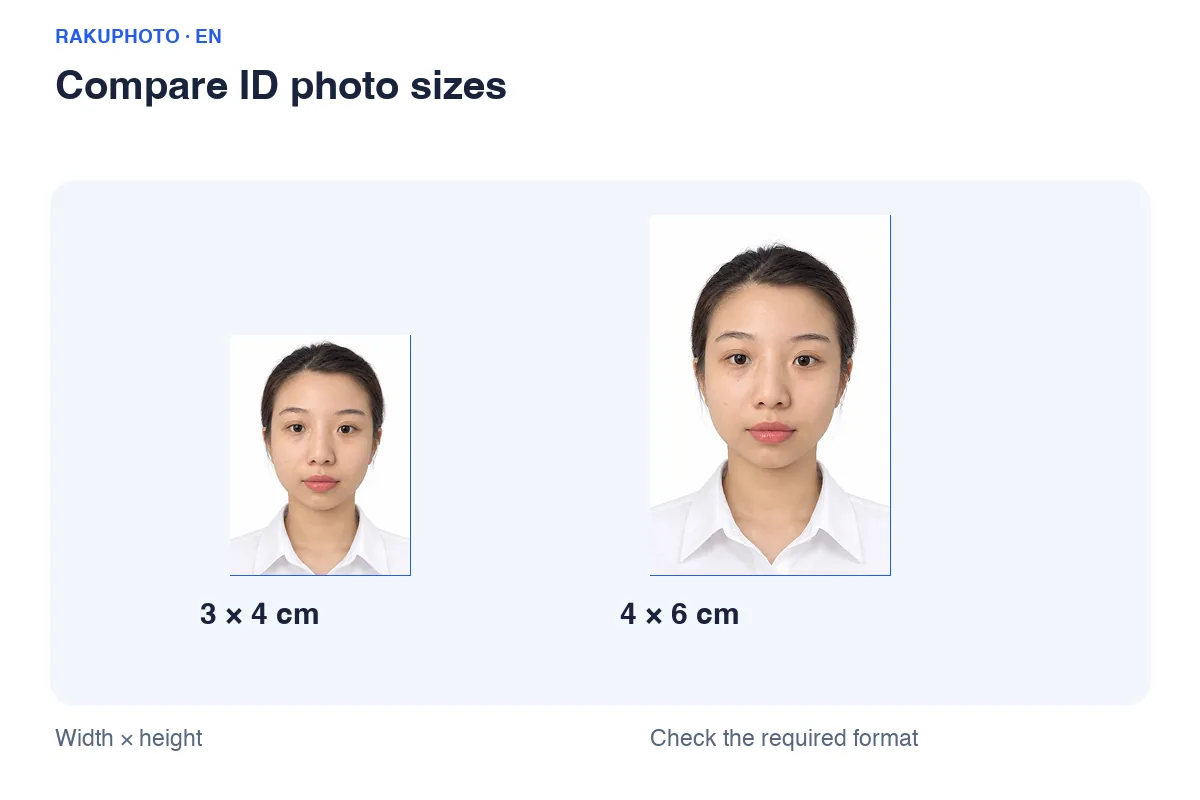
When referring to a 3×4 ID photo, we typically mean a portrait-oriented print with a width of 30 mm and a height of 40 mm. A 4×6 photo measures 40 mm in width and 60 mm in height. These are the dimensions of the photo after cutting, not the width of the face or the size as displayed on a phone screen.
Differences in both size and aspect ratio
The 3×4 frame has a width-to-height ratio of 0.75, while the 4×6 frame is approximately 0.667. Consequently, simply enlarging a 3×4 photo does not automatically result in a correctly proportioned 4×6 photo. If you attempt to stretch the image to fit both dimensions, the face will appear elongated or flattened. The correct approach is to crop the frame from the original image and then align the head and shoulders.
Check the required unit of measurement
Do not confuse 4×6 cm with 4×6 inch prints, which measure approximately 10.16×15.24 cm. Also, do not swap the dimensions to 6×4 if the application requires a portrait (vertical) orientation. You can refer to the pages for 3×4 ID photos or 4×6 ID photos, but the requirements specified on the application form remain the final authority.
How many pixels are in 3×4 and 4×6 ID photos?
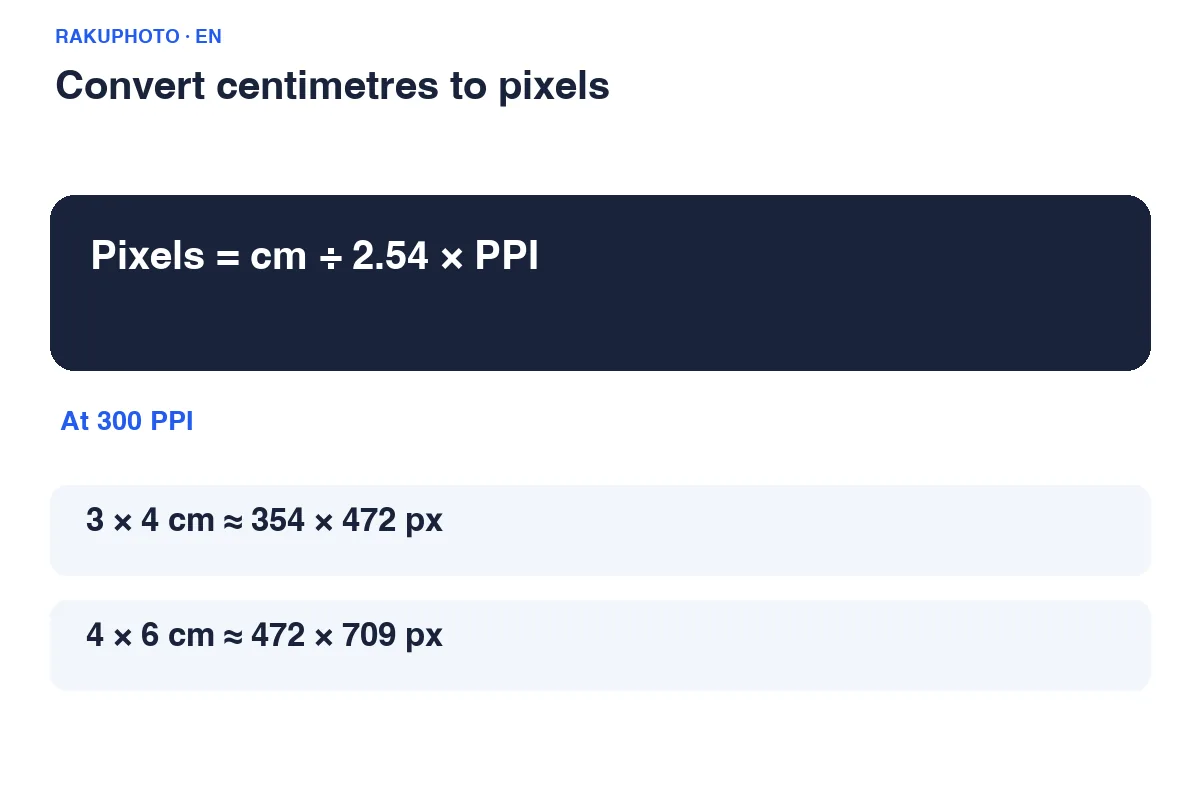
Centimeters indicate physical dimensions, while pixels indicate the number of image points in the file. An image that is 3 cm wide can be saved with varying pixel counts depending on the print density. The formula is: pixel count = cm ÷ 2.54 × PPI. PPI stands for pixels per inch; when dealing with print shops, this is commonly referred to as "300 DPI".
| Portrait photo size | Dimensions (mm) | Reference pixels at 300 PPI |
|---|---|---|
| 2×3 cm | 20×30 mm | 236×354 px |
| 3×4 cm | 30×40 mm | 354×472 px |
| 4×6 cm | 40×60 mm | 472×709 px |
| 5×5 cm | 50×50 mm | 591×591 px |
Why is there sometimes a one-pixel difference?
Calculations often result in decimal values that require rounding. A one-pixel difference due to rounding is not the same as selecting the wrong aspect ratio. This chart is intended for print preparation; it does not guarantee that every submission portal accepts these specific figures. If the receiving entity requires 600×800 px, please export the file according to those specifications.
Changing the DPI setting for a small file does not actually add detail. For example, a 150×200 px image labeled as 300 DPI still contains the same number of pixels. Keep the original photo sharp and export it from the source file, rather than enlarging an image downloaded from a messaging app.
Online file submission or paper print?
Before editing the photo, determine whether you need to submit a digital file, attach a physical print, or both. For paper prints, check the dimensions (in centimeters), background color, quantity, and recency requirements. For digital files, note the specific pixel width and height, file format, and size limits. The requirements for these two formats may differ.
Don't assume requirements based solely on the size name
One agency might require a 4×6 photo with a white background, while another might specify different dimensions or have unique rules regarding eye position and head height. Simply using the correct frame size does not guarantee the photo meets the criteria for a passport, visa, or other official application. Read the receiving agency's guidelines before choosing a background or selecting your outfit.
If you are simply told to "send a 3×4 photo" without specific file parameters, clarify whether a print or a digital file is required. Submitting a high-quality file with a 3:4 aspect ratio is a sensible starting point, but you should still confirm the file size, format, and pixel dimensions before submission.
How to select a size and upload photos on Rakuphoto
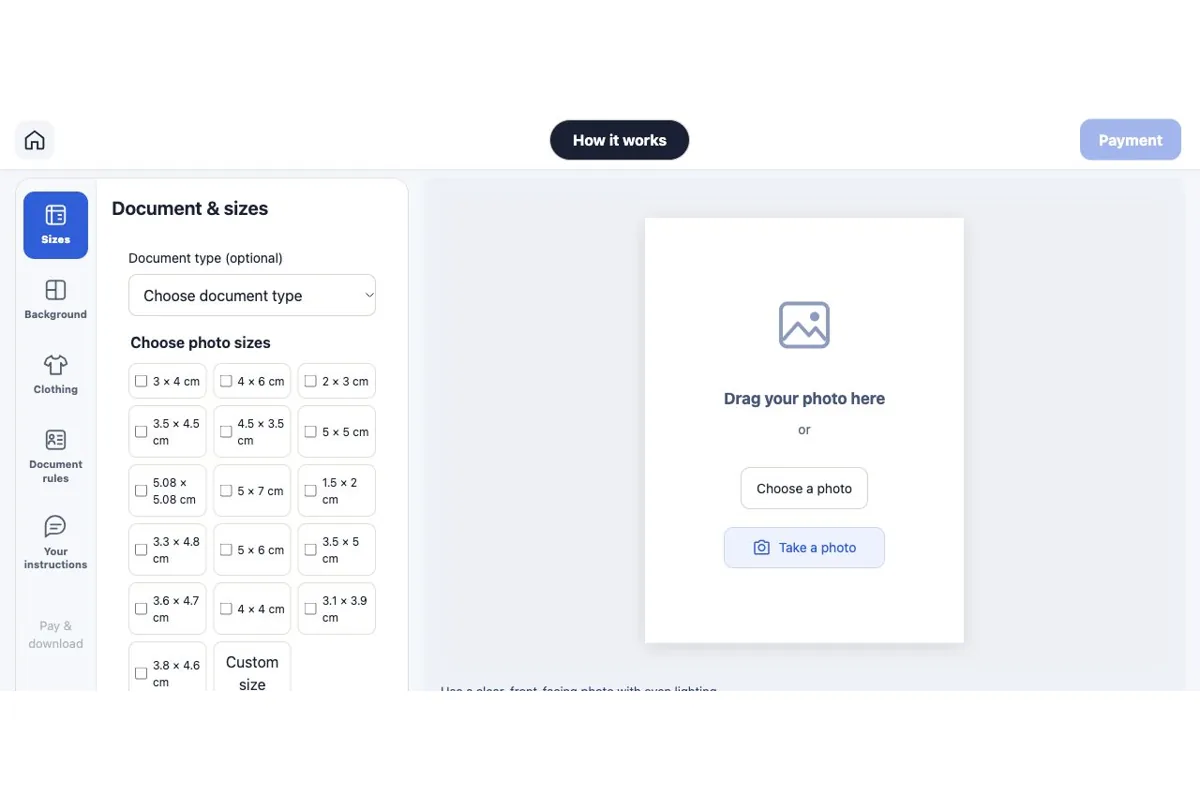
Go to the online ID photo generator and select an original portrait photo where your face is clearly visible. You can select the dimensions directly; choosing a preset profile is not mandatory. Ensure the head, hair, and shoulders are fully included in the original photo to allow for proper cropping when adjusting the aspect ratio.
Three checks before receiving the file
- Select the required size: Choose 3×4, 4×6, or the specific size requested. Double-check the units and the frame orientation (portrait/vertical).
- Create and preview: Check the eyes, hair, chin, background, and facial details. Adjust the photo alignment if the head appears too small or too close to the edge; do not focus solely on the clothing.
- Check each size: If ordering multiple sizes, view each frame individually, as the cropping position may vary. After payment, download the required file or print sheet from your order.
Do not use a screenshot of the preview for submission or printing. Screenshots may contain watermarks or interface borders and are of lower quality than the official download file. Name your files according to their size to avoid errors—for example, “photo-3x4” and “photo-4x6”.
Print at the correct size to avoid blurry or distorted images
If printing yourself, select the correct paper size and the option to print at actual size (often labeled “Actual size” or “100%”). The “Fit to page” option may scale the entire sheet to fit the printer's printable area. Do not confuse the “100%” setting in the print dialog box with the face-scaling slider in the tool; they serve different purposes.
Test-print one copy before printing in bulk
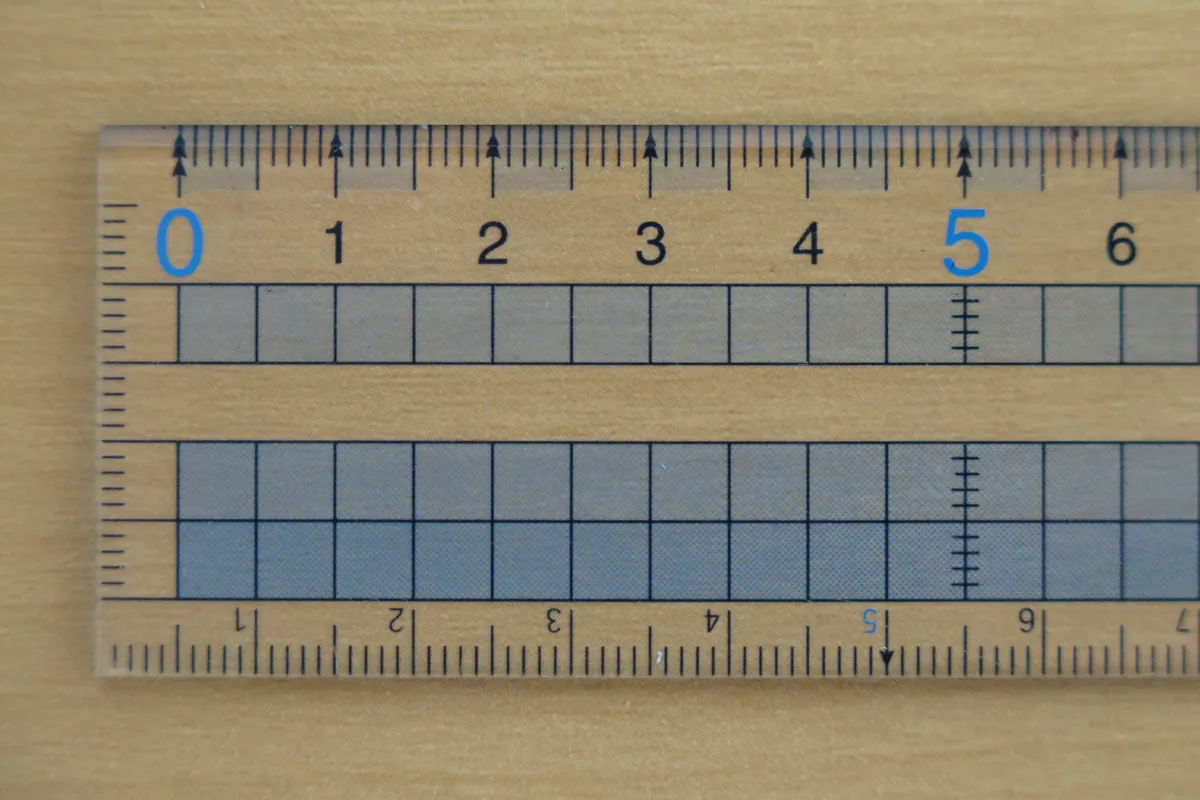
Print a test copy and use a ruler to measure the width and height of the photo along the cut lines. If a 3×4 cm size is required, the result should be close to 30×40 mm; If the entire sheet appears shrunk, check your page alignment and paper size settings. Do not crop based on visual estimation or on-screen size.
Blurry photos often result from an original image that lacks sharpness, was taken in low light, or was compressed via a messaging app. Prioritize files directly from the camera and avoid enlarging small files. Paper and printer quality also affect color and sharpness; be sure to check a test print. File and printing costs are listed in the Rakuphoto price list.
FAQs about ID photo sizes
Can a 3×4 photo be used instead of a 4×6 photo?
It is not advisable to use one directly when the recipient requires a specific size, as the two formats have different aspect ratios. You can create both from the same original image, but you must crop and align each size individually, ensuring the face looks natural rather than stretching the file.
Is a 354×472 px file always sufficient for online submission?
No. This is an approximate conversion of 3×4 cm at 300 PPI, intended for print reference. Digital submissions may require higher pixel counts, different formats, or specific file sizes. Please verify the recipient's requirements.
Will setting the resolution to 300 DPI eliminate blurriness?
No. Print density settings cannot restore details that have already been lost. If the eyes and hair in the original photo are not clear, you should retake it using good lighting and a steady camera before creating a new file.
Can multiple sizes be created from a single original photo?
Yes. Select the sizes you need and check each frame option in the Rakuphoto order. Pay attention to the empty space around the head and shoulders in the original photo so that the subject can be properly aligned within both square and vertical frames.