Change ID photo backgrounds and outfits naturally
Change ID photo backgrounds and outfits on Rakuphoto. Choose suitable edits, preserve facial features and check the preview before buying.
Before Changing Backgrounds and Attire for Online ID Photos
Distinguishing Between CV Photos and Official Document Photos
CV photos often allow for flexibility regarding attire and backgrounds, depending on the job and how you present your application. You might choose a dress shirt or a suit jacket for a polished look. For official documents, passports, or visas, however, be sure to read the guidelines provided by the issuing authority first. Do not assume that a photo accepted for one application will be suitable for all others.
For example, US passport photo guidelines require an original photo that has not been altered by software, apps, or AI. If the receiving agency has similar requirements, please retake the photo with the appropriate background and clothing. Using online tools to change the background or attire is not a substitute for complying with this rule.
The quality of the original photo determines editability
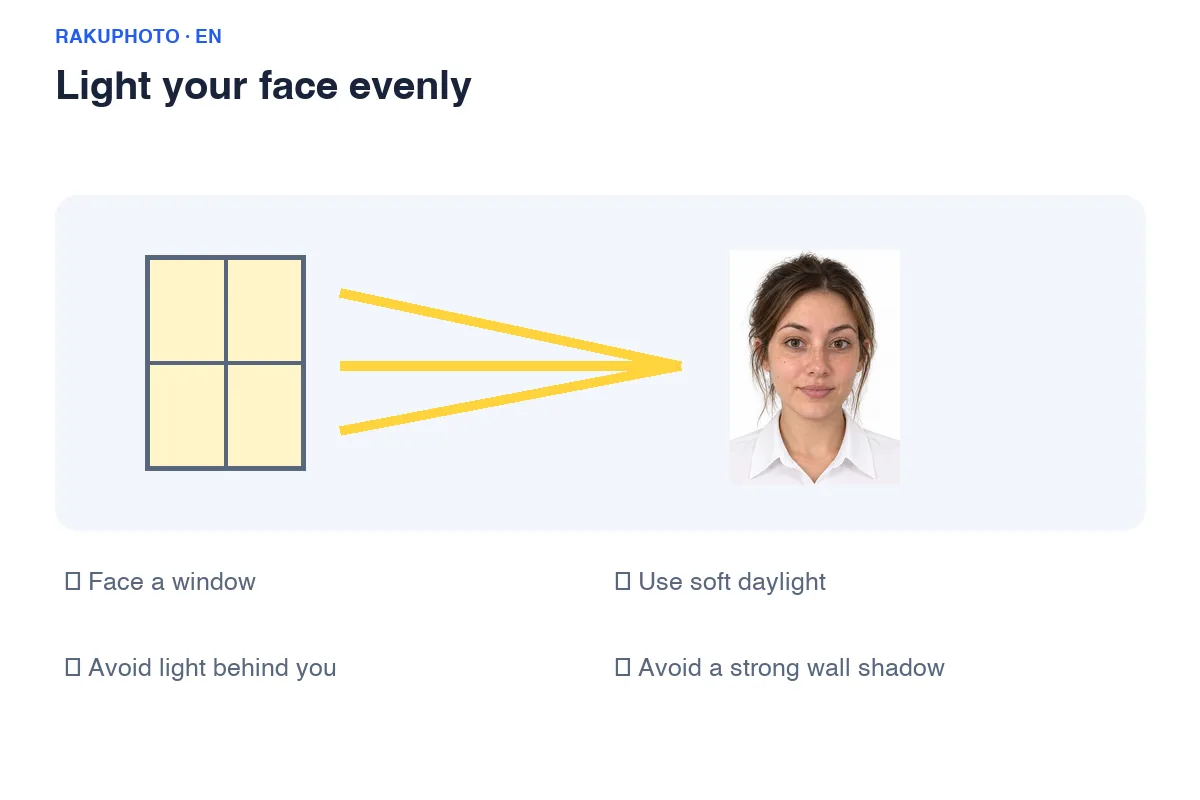
Select a sharp original file where the subject is looking straight ahead, the lighting is even, and the hair, neck, and both shoulders are fully visible. Blurry or overly close-up photos make it difficult to preserve natural details. If hair blends into a dark background, choose a different photo. When taking a new photo, keep the phone steady at eye level and avoid backlighting.
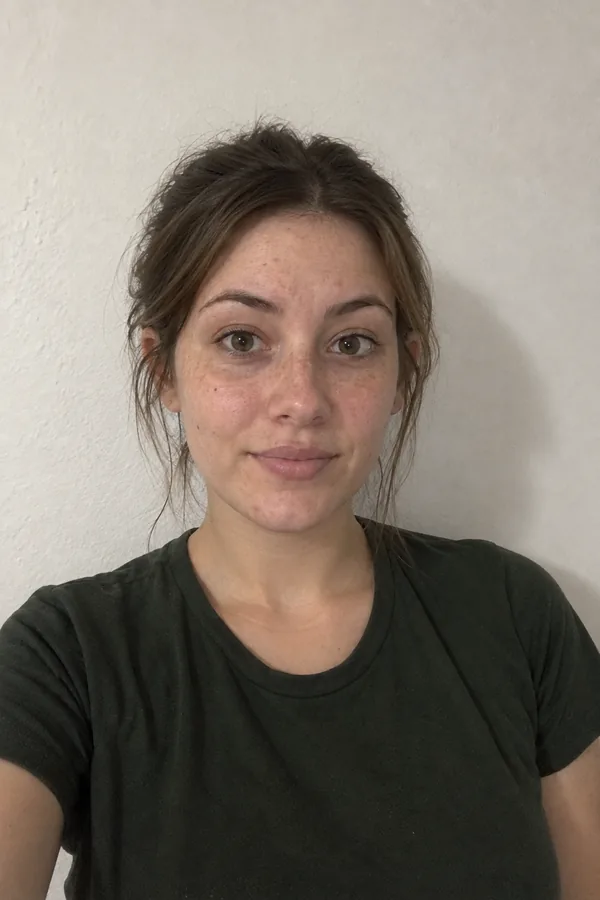
Should you choose a white or blue background for your ID photo?
When changing the background or attire online, the background color must comply with the receiving agency's requirements. If the guidelines specify "white background," do not choose cream or gray simply because they flatter your skin tone. Blue backgrounds also come in various shades; consult the sample photos provided by the agency rather than guessing a random shade of blue.
Selecting a background on Rakuphoto
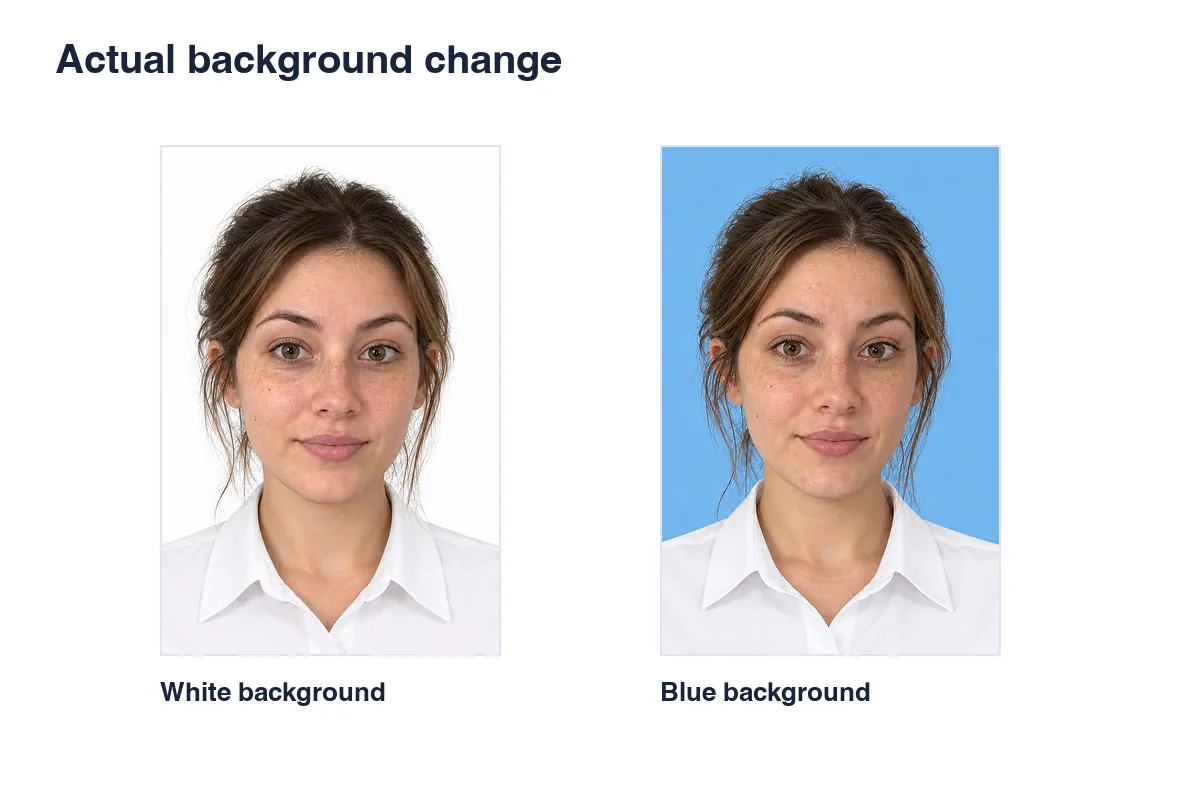
In Rakuphoto, open Background and choose the colour required by the receiving authority before generating the photo. The real comparison below shows the same portrait before and after changing the background to white. Check the hair and shoulder edges in your own result.
Checking the hairline, ears, and shoulders
Zoom in to look for light halos around the hair, background patches remaining between strands of hair, or clipped shoulder edges. Fine hairs do not need to be smoothed into a solid block. If the original photo has harsh shadows on the face, changing the background does not fix the lighting on the skin. Retaking the photo often yields a more natural result than extensive editing.
Choosing natural attire for online ID photos
Keep the original shirt if it is clean, wrinkle-free, and appropriate. Online background and outfit replacement should address specific issues, such as distracting patterns or an untidy collar. There is no need to add a suit jacket simply because of the assumption that all professional photos require one.
Dress shirts, suits, and shirt colors
Solid-colored dress shirts are versatile for various photo styles. Suits may be suitable for CVs or professional profiles; choose a simple style that fits well at the shoulders. Against a white background, a dark shirt helps define the shoulder line more clearly. White shirts can still be used if the collar and shoulders are clearly distinguishable from the background, depending on the application requirements.
For children, prioritize neat, age-appropriate clothing; avoid adult styles that make the shoulders or neck look unnatural. The male and female models in the library serve as references for clothing styles. Focus on how the outfit fits your photo, not how it looks on the model's face.
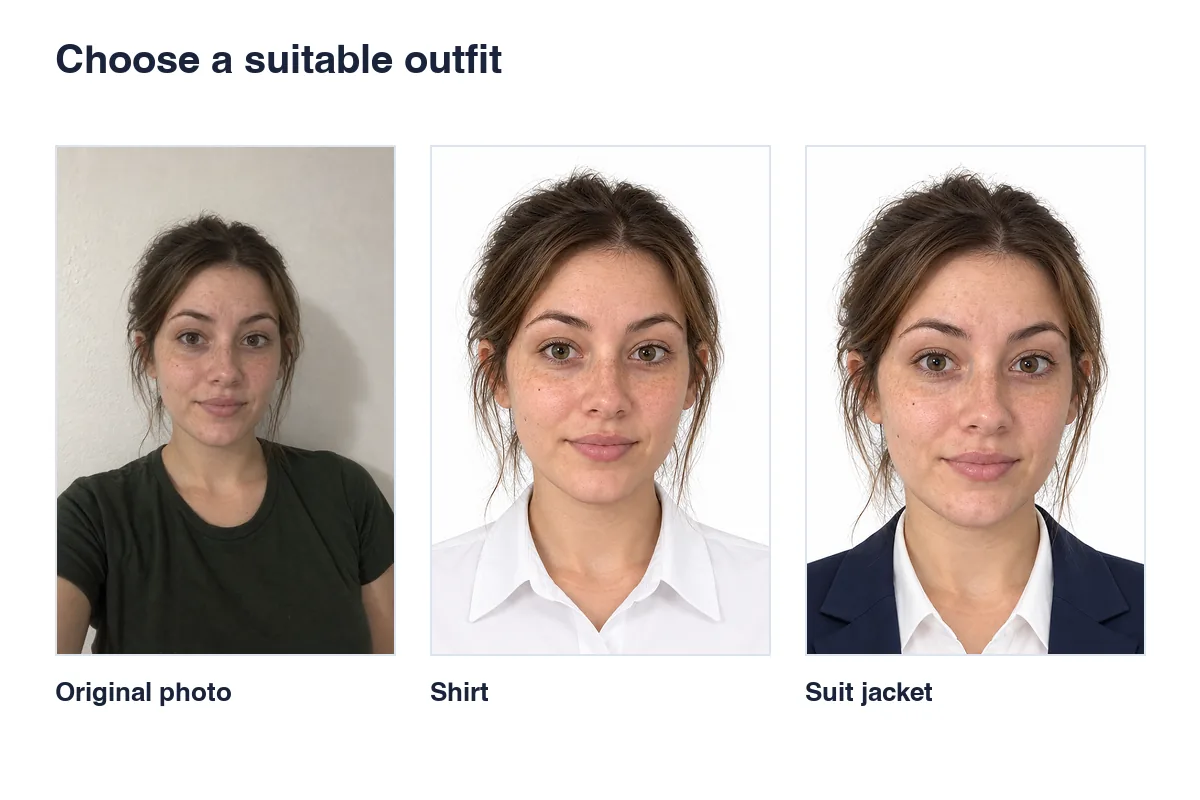
Signs of a poor outfit fit
Carefully check if the collar aligns with your neck, the lapels look natural, and the shoulder width is proportionate to your body. Ensure long hair falls consistently either in front of or behind the outfit. If there is a tie, check the knot and center alignment. Even a great-looking outfit in the template needs to be reviewed after being superimposed onto your actual photo.
5 steps to change backgrounds and outfits for ID photos online
You can get started using the Rakuphoto ID photo tool in your browser. Have your background, clothing, and photo size requirements ready beforehand to avoid having to change your selections repeatedly.
Upload photo and select size
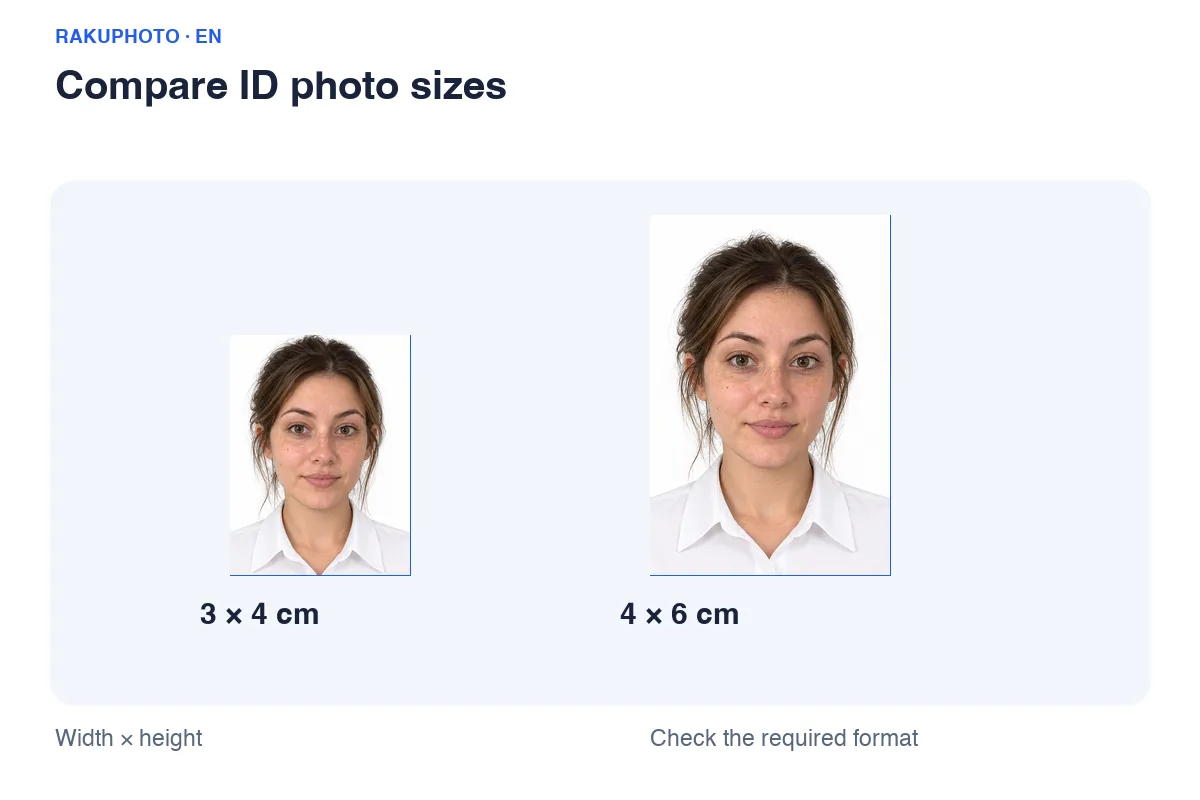
Step 1: Select a photo from your device or drag and drop it into the upload area. Step 2: Choose the required size. Selecting a document type is optional; you can still generate the photo by choosing the size alone. If you are unsure, please consult the guidelines for 3×4 ID photos or 4×6 ID photos and verify the requirements with the receiving agency.
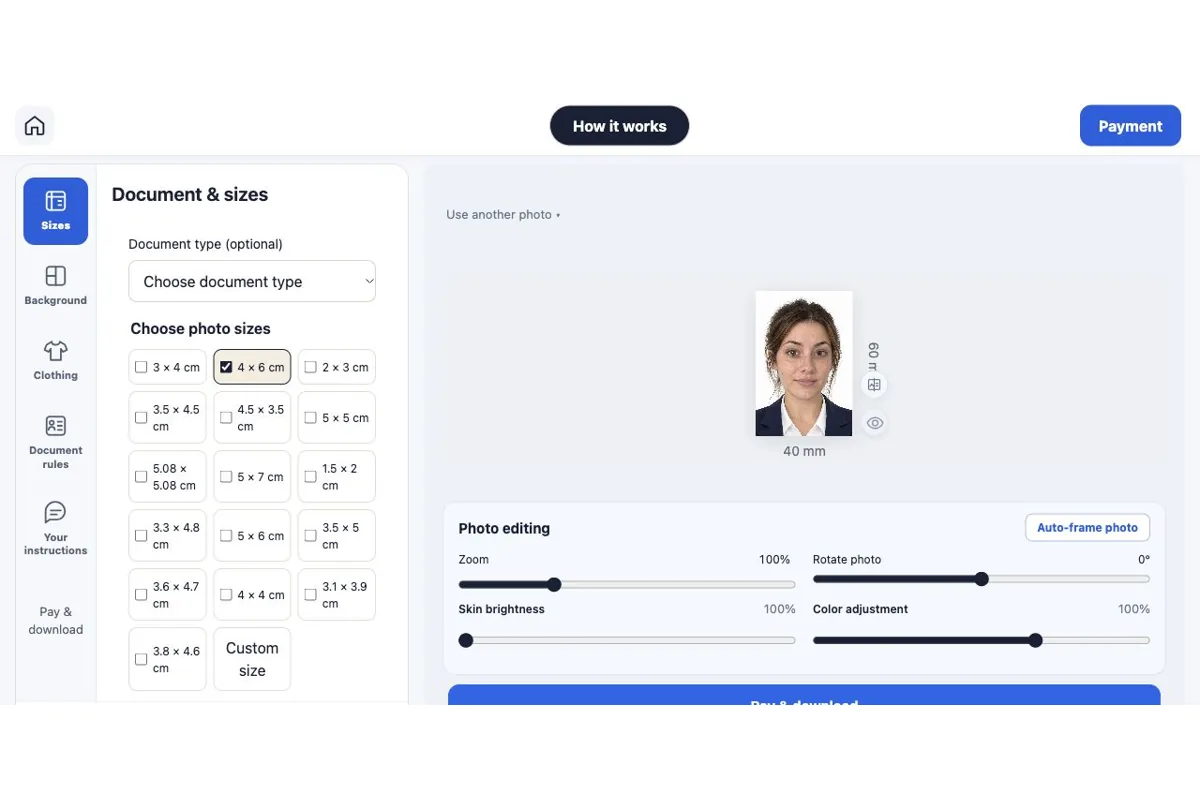
Select background and outfit, then generate the result
Step 3: Open the Background section and select the desired color. Step 4: Open the "Outfit" section and select a style if you wish to change the shirt; if you prefer to keep the original shirt, do not select a replacement style. Step 5: Review your selections, add any specific requests if necessary, then click "Check & Generate Image." Wait for the result and compare it before making a payment.
If uploading your own shirt style, use a photo that clearly shows the collar and shoulders. Avoid selecting one style while requesting a switch to a different shirt, as the two instructions may conflict.
Specific requirements for online ID photo attire
When requesting changes to the background or attire for an online ID photo, keep your instructions concise and specific. State what needs to be changed first, followed by what should remain unchanged. For example: “Change to a white shirt and white background. Keep the hairstyle and facial features; do not alter the shape of the eyes, nose, or lips.” This is clearer than simply asking to “make it look as good as possible.”
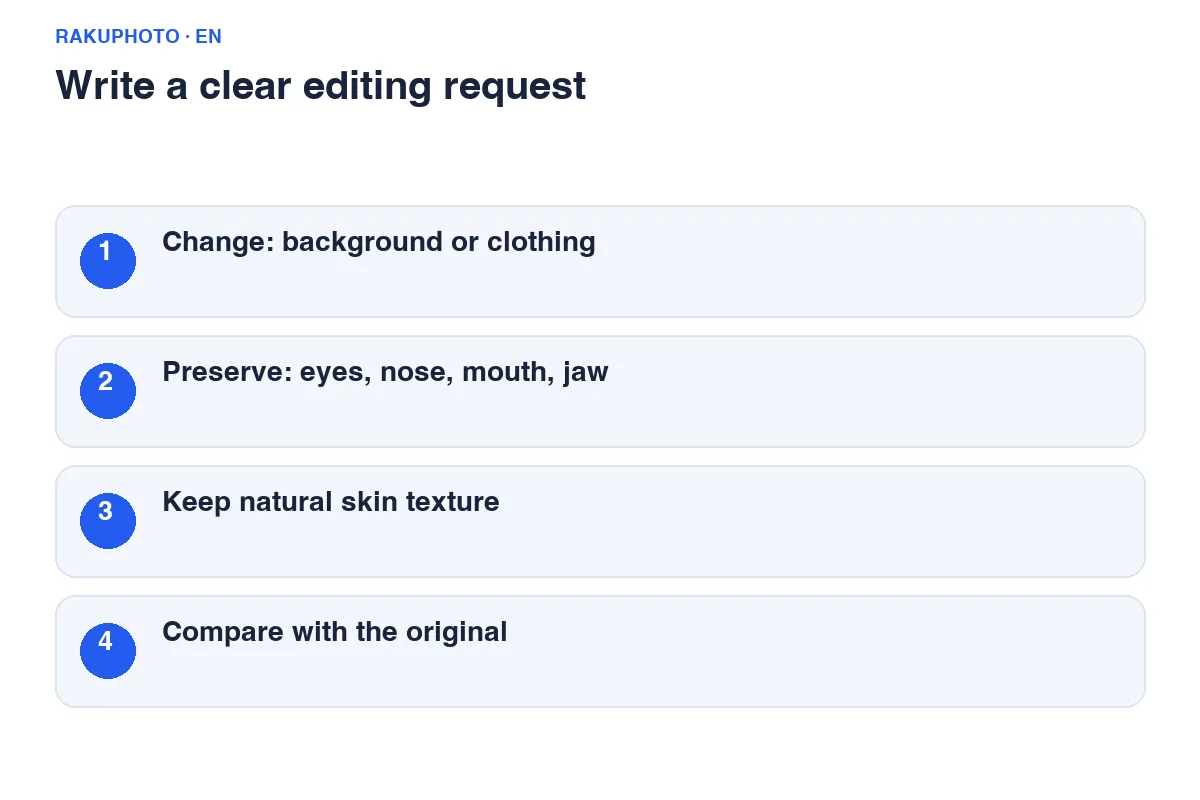
Retouch skin moderately; avoid altering identifying features
If you need to treat acne for a CV photo, specify that you want to reduce temporary blemishes while preserving the natural skin texture. Avoid requests to slim the face, raise the nose bridge, or enlarge the eyes, as the photo must accurately reflect your true appearance. Do not use these edits for applications that prohibit photo manipulation; even minor adjustments may render the photo invalid.
Address hair and glasses issues during the shoot
Issues such as hair covering the eyes or glare on glasses should be resolved before taking the photo. Removing glasses via software may require digitally reconstructing the obscured eye details. If possible, remove your glasses and neaten your hair before taking a new photo; this makes it easier to verify accuracy and ensures a more authentic appearance.
Check the online ID photo's attire before purchasing
After the background and attire have been modified, examine both the overall image and the facial area. Compare the eyes, nose, lips, jawline, and identifying features against the original photo. Next, check the background, collar, shoulders, and hair. Don't just look at the color of the outfit; pay attention to the transition areas between the person and the clothing.
Check each size and print sheet
For each size, verify that there is sufficient headroom, the face is centered, and the shoulders are balanced. The appropriate scale depends on the specific application requirements; there is no single zoom level that fits every document. The print sheet must also maintain correct dimensions for each image slot; do not stretch the photo to fill the page.
The preview image contains a watermark. Receiving the final file after payment is a separate step from viewing the preview. Please check the Rakuphoto price list, file or print packages, and photo delivery details before purchasing. If the result shows any unusual details, do not use the image immediately just because the background color is correct.
FAQs on background and outfit editing
Can online ID photo background and outfit replacements be used for all applications?
No. The receiving authority determines whether the photo is accepted. If unedited photos are required, please retake the photo with the correct background and outfit from the start.
Can I keep the original outfit and only change the background?
Yes, you can select a background without choosing a replacement outfit. Double-check your selections and the result to ensure the original outfit is preserved as desired.
Do I need two original photos if I select both 3×4 and 4×6 sizes?
You can generate the required sizes from a single source photo. However, please check the framing requirements for each size and specific application.
Does the outfit-swapping feature guarantee the face remains unchanged?
Do not assume the result will be an exact match. Ensure facial features are preserved and compare the final image with the original before use.