ID photos online without sign-up: 6 steps
Create an ID photo without an account. Upload your portrait, choose sizes, check the free preview and download after payment on Rakuphoto.
Creating ID photos online without logging in is ideal when you want to prepare a photo file directly on your phone without installing extra apps. However, a quick process is only effective if the photo clearly shows your face, meets size requirements, and preserves recognizable features. This article guides you through the Rakuphoto process, from selecting the photo to checking the result and receiving the file.
1. What does it mean to create ID photos online without logging in?
Start directly in your browser
Simply open the website, upload your portrait, and select the desired size. There is no need to create an account or remember a password to get started. This method is convenient when using a family member's device or creating photos for multiple family members. Whenever you upload a new photo, double-check the settings to ensure they match the correct person and profile.
Previewing and downloading are separate steps
Creating ID photos online without logging in does not mean the entire service is free. You can view the resulting photo before deciding to purchase. The preview includes a watermark; the download file becomes available only after payment. You will still need to enter photo receipt and delivery details when prompted. Do not close the page before saving your order information.
2. Preparing your source photo to minimize the need for retakes
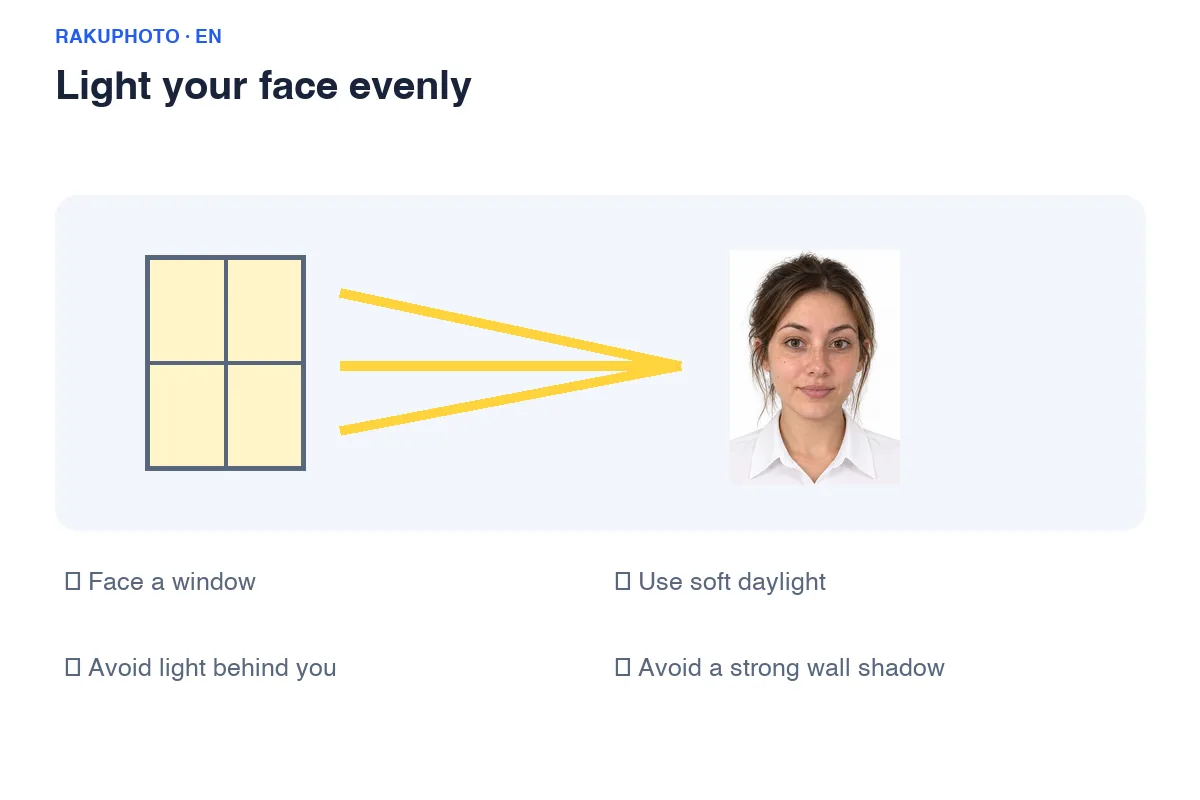
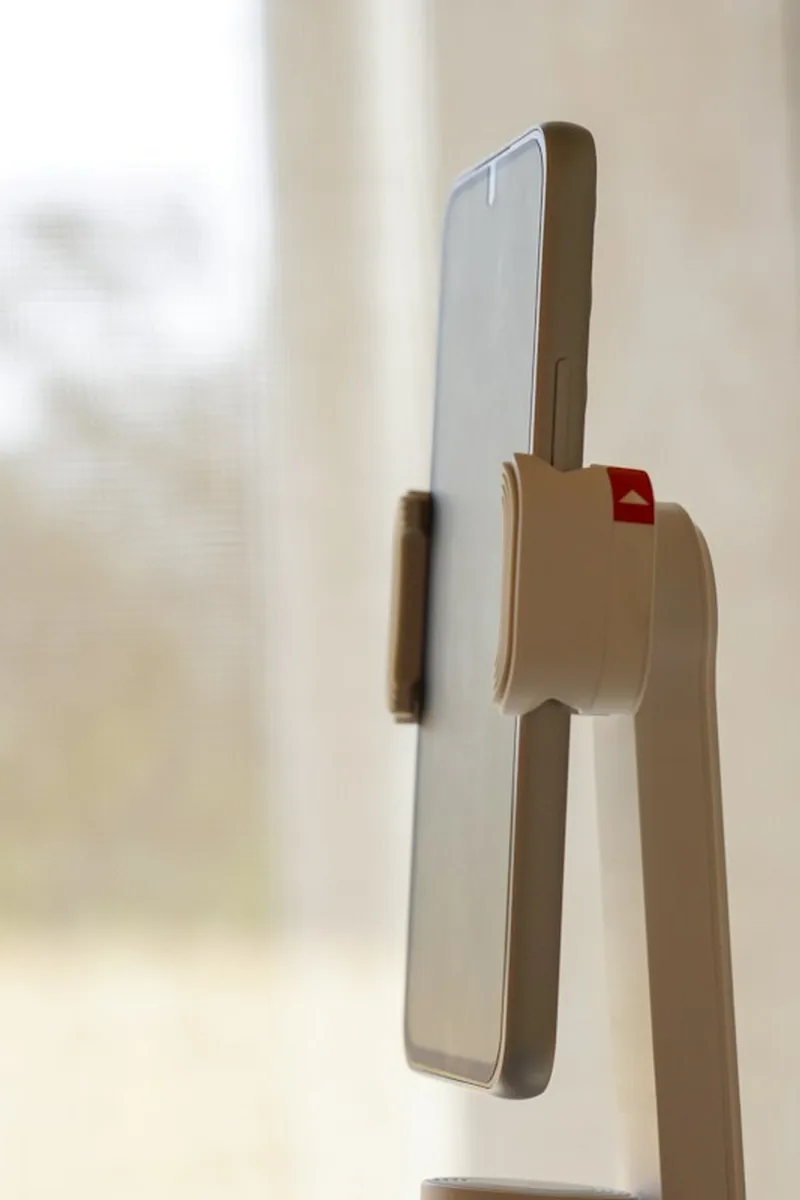
For online ID photos, choose a recent shot where you are looking straight ahead, with your hair and both shoulders fully visible. Use soft frontal lighting; avoid having a window behind you, which can darken your face. Position your phone steadily at eye level and far enough away to minimize perspective distortion. Frame the shot wider than the final required size to allow room for alignment.
Checking eyes, hair, and file quality
Zoom in to check if the eyes are sharp, hair isn't obscuring the face, and bright areas haven't lost detail. Retake the photo if it is blurry or the top of the head is cut off. Use the original file from your gallery; avoid screenshots or photos that have been sent through multiple apps. Increasing the DPI cannot restore lost detail.
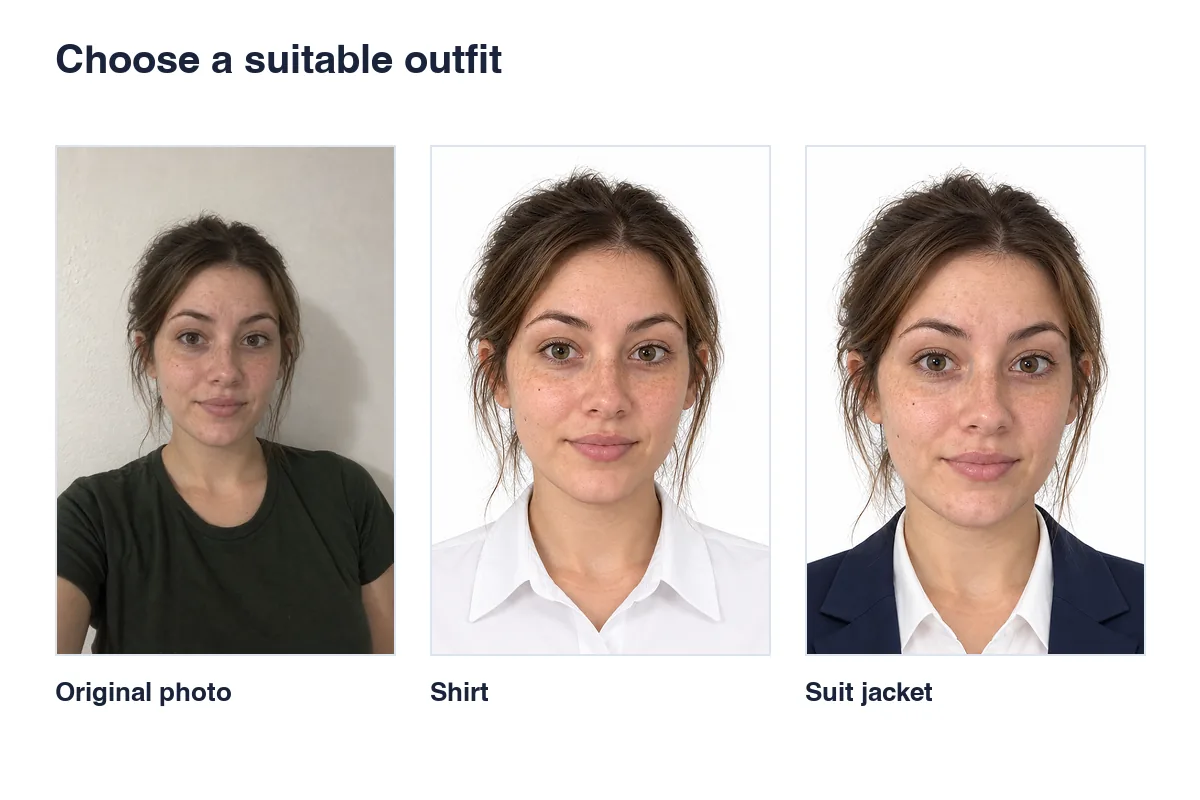
For documents with strict regulations, wear appropriate attire during the shoot and turn off beauty filters. Editing tools help refine the image, but you must still verify the requirements of the receiving agency. A great-looking CV photo may not necessarily meet the requirements for a passport or visa application.
3. Upload the photo and select the required size
Open the Rakuphoto ID photo maker. Select a photo from your device or drag and drop the file into the upload area. You can use the shutter button directly on your phone; if the browser requests camera access, grant permission only when you are ready to take the photo. Verify that the uploaded photo shows the correct person before proceeding.
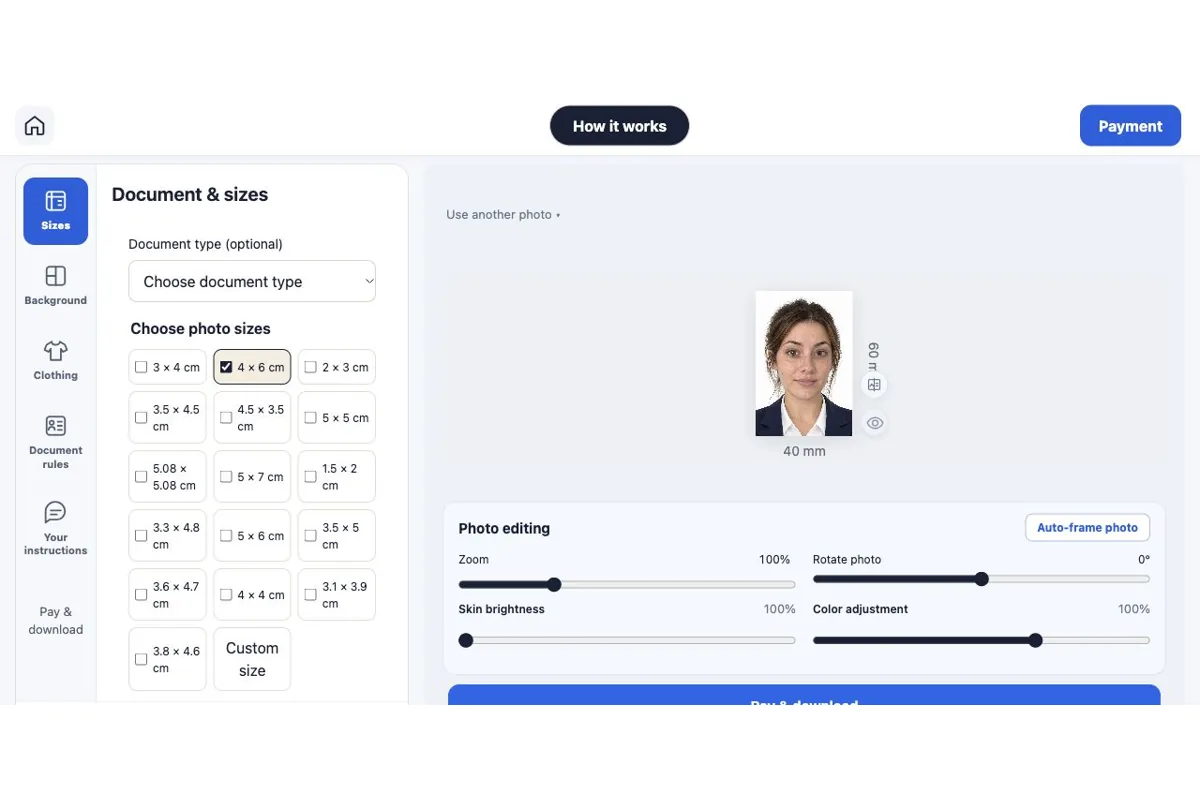
You can generate the photo by simply selecting the size
When creating ID photos online, the "document type" field is optional. If the receiving agency only specifies dimensions, simply select the required size and proceed. You can select multiple sizes for the same photo. For specific requirements, consult the receiving agency's guidelines first; do not simply choose a similar document type and assume all parameters will match.
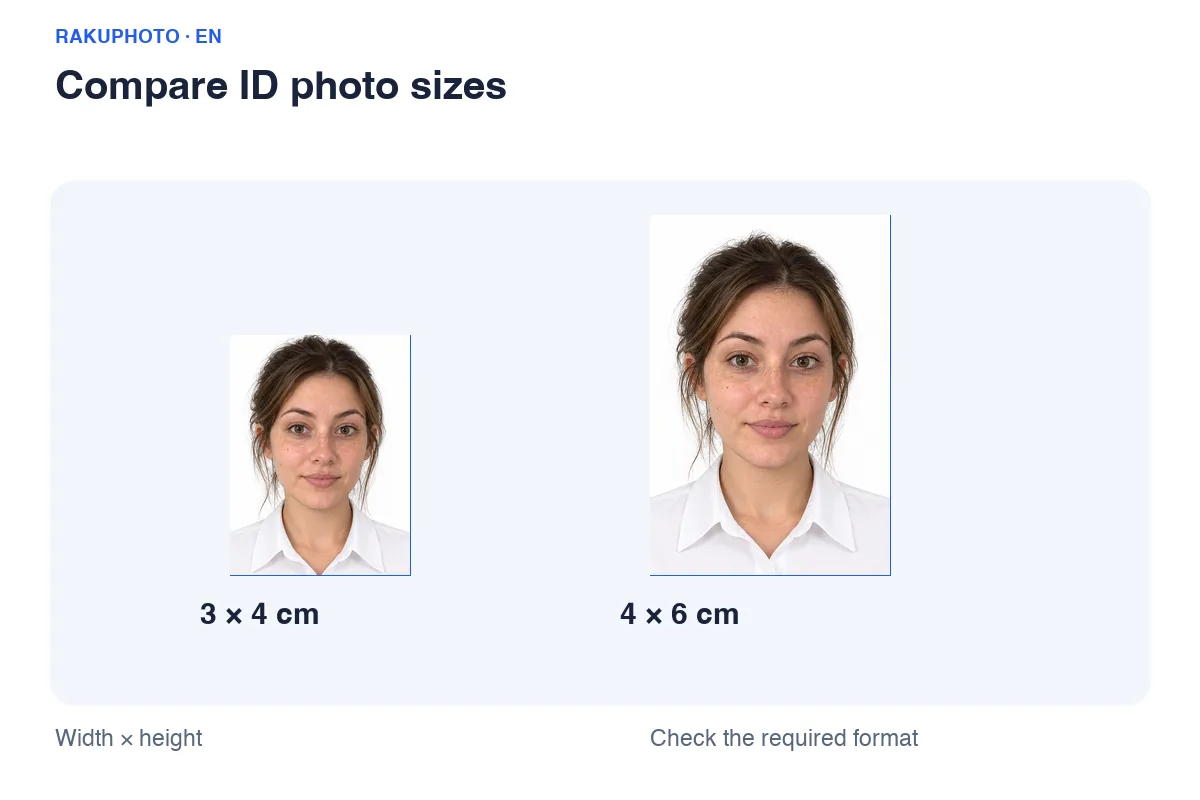
The 3×4 cm and 4×6 cm sizes differ in both width and height. Refer to the 3×4 ID photo and 4×6 ID photo pages if you are unsure which size is appropriate. Pixel dimensions also depend on the file export method; the size name alone does not guarantee compliance with all online submission requirements.
4. Select the background and apply appropriate adjustments
To change the background of your ID photo online, go to the "Background" section and select the color required for your document. The tool offers white, light blue, and other options. If the receiving agency requires a white background, do not switch to blue simply because it complements your skin tone better. A color that looks good on screen may not necessarily be accepted for your application.
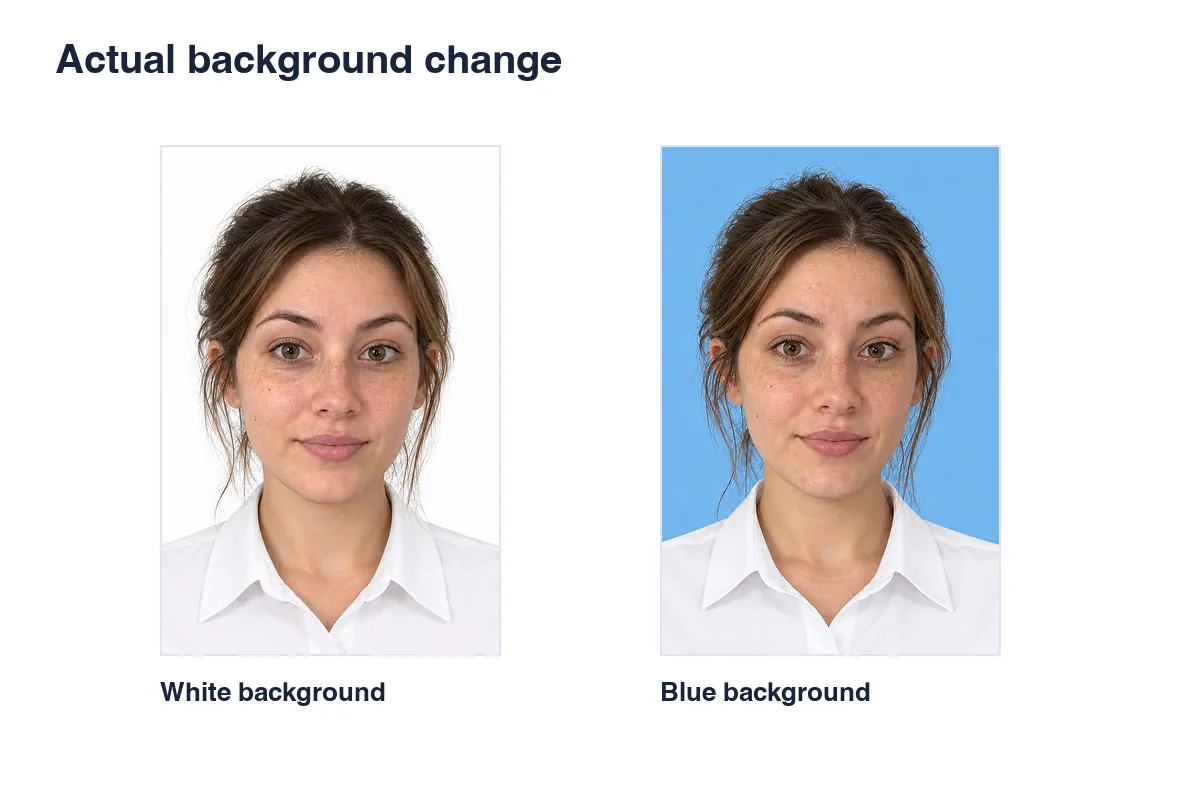
Ensure your face remains easily recognizable
When creating an online ID photo for a job application, consider wearing professional attire. Since there are limits on photo editing, maintain a natural appearance and check the guidelines before altering your clothing or hairstyle. Do not request changes to your eye shape, nose size, or jawline, as these modifications can make it difficult to match the photo to your actual appearance.
If you need to include specific requests, keep them brief and precise—such as temporarily removing blemishes, keeping beauty marks, or preserving your natural skin tone. Avoid vague instructions like "make me look beautiful," as the results are hard to verify. Note that uploading a new photo resets your settings; be sure to check the background, size, and requirements again before proceeding.
5. Review the final photo before purchasing
After selecting your online ID photo settings, click "Check & Generate" once you have made all your choices. Wait for processing to complete and compare the result with the original photo. Processing time depends on the image and your internet connection. If you notice any inaccuracies, do not proceed with payment simply because the photo looks brighter; Check the key identification features first.
Check from the top of the head down to the shoulders
- The top of the hair is intact, with appropriate headroom above it.
- Eyes, nose, mouth, ears, and identifying features match the original photo.
- The face is centered in the frame; the head is not noticeably tilted.
- The background is clean; the hairline is not cropped off, and there are no strange artifacts.
- Each selected size displays at the correct ratio; the subject is not stretched.
The auto-align button helps position the subject within the frame. However, you should still check each size and adjust the zoom if necessary. Do not simply zoom in until the face fills the entire frame, as this may cut off hair or leave insufficient headroom. The watermark on the preview distinguishes it from the final file provided after payment.
6. Payment, file receipt, and printing to scale
Once you are satisfied with the generated ID photo, proceed to the payment step. Review the Rakuphoto pricing table and the order total before confirming. File costs, printing options, and shipping fees may be listed separately. Select the print option only if you require a physical copy; Online applicants often need to upload a file that meets specific requirements.
Enter photo delivery details accurately
Check your email address character by character, especially if your browser auto-fills an old address. Fields marked with an asterisk must be completed. Orders for printed photos require detailed contact information and a complete delivery address. You do not need an account to generate the photo, but you must provide the necessary details for file delivery or physical shipping.
After downloading, check the online ID photo file and save a copy in an easily accessible location. If printing it yourself, ensure the shop maintains the actual size; the "fit to page" option may result in incorrect dimensions. Measure the printed copy before attaching it to your application; do not rely solely on visual estimation.
7. Frequently Asked Questions about Online ID Photos
Can I generate an online ID photo without selecting a specific application type?
Yes. You simply need to select the required size. Specifying the application type is optional; however, you should still verify specific requirements against the guidelines provided by the receiving agency.
Can I download the file for free after previewing it without logging in?
Previewing and downloading are separate steps. The preview version contains a watermark, whereas the downloadable file is released based on the order's payment status.
Will an edited online ID photo definitely be approved?
Approval cannot be guaranteed for every type of document. The receiving agency makes the final decision on acceptance. You should verify the size, background, and regulations regarding image editing.
Can I continue an existing order if I switch phones?
Please keep the order link and any relevant order information. Browser data may not automatically transfer to a different device; check the order before recreating or paying.