Take ID photos with your phone: 6 practical steps
Take an ID photo at home with your phone: even lighting, camera distance, posture and checks before uploading to Rakuphoto.

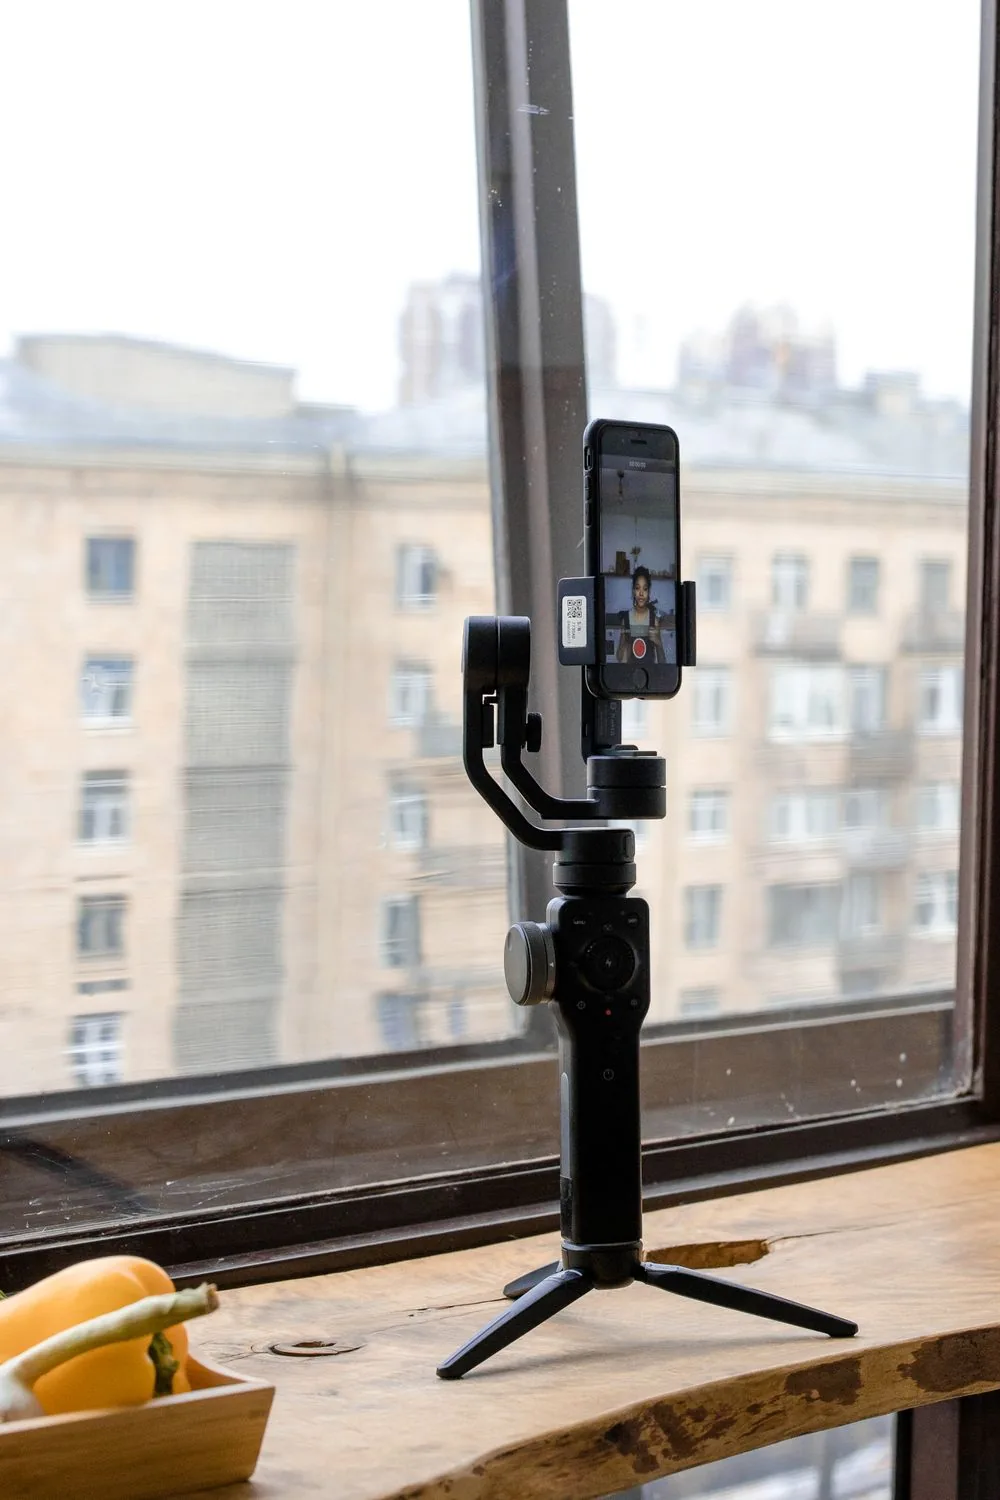
Illustrative photo showing equipment setup, not the final pose for an ID photo. Photo: Artem Podrez / Pexels.
Nowadays, submitting administrative applications online has become commonplace—ranging from applying for a passport via the Public Service Portal and registering for a VNeID digital identity account to submitting driving test applications or job application CVs. Each type of application has specific photo requirements; please check the guidelines provided by the receiving agency before taking your photo.
When taking ID photos with a phone, common errors include shadows behind the head, hair obscuring the face, shooting from too close a range, and image file compression. Proper preparation from the start helps minimize these errors, though the final decision on whether to accept the photo rests with the receiving agency.
1. Lighting preparation: Ensuring the face is evenly lit and clearly defined
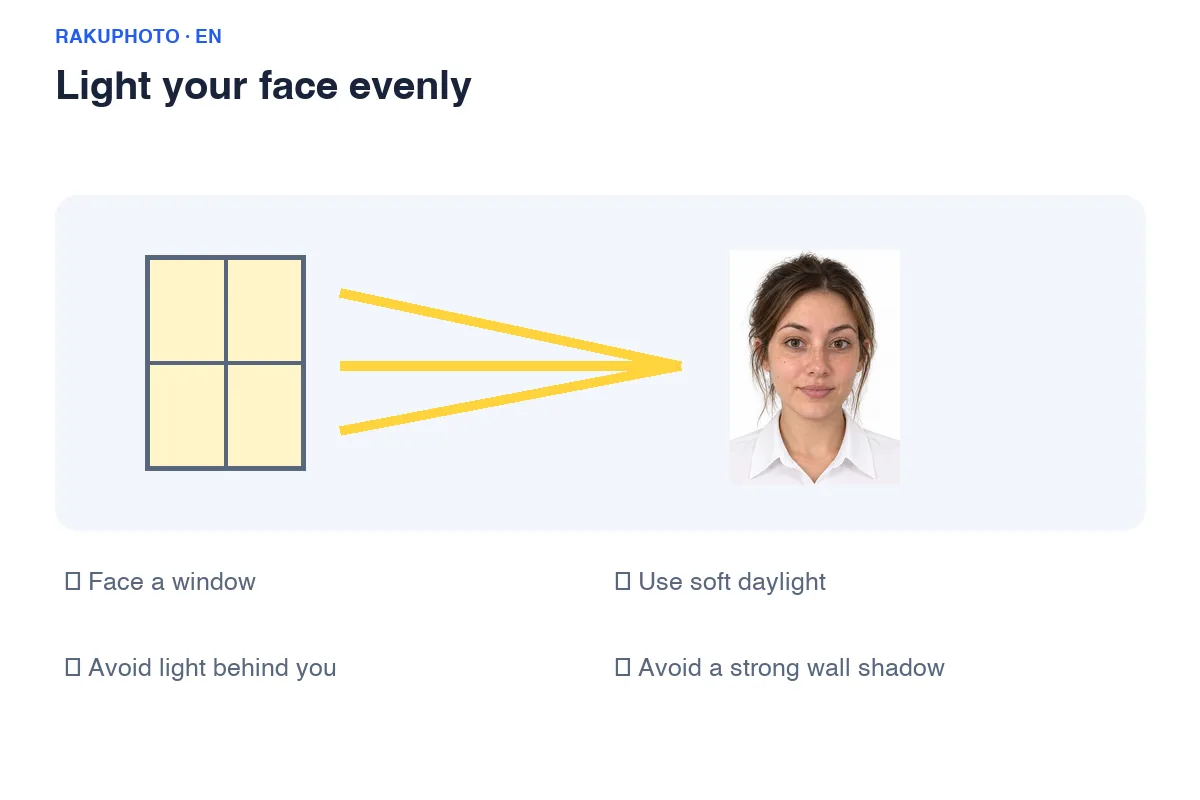
Smartphone camera sensors are much smaller than those in professional cameras. In low-light environments, the phone automatically boosts ISO to compensate for the lack of light; this results in muddy image quality, a loss of detail in the eyes and hair, and significant digital noise.
- Easy-to-use light source: Stand facing a window during the day (1–1.5 meters away). Daylight filtering through a sheer curtain provides "soft light," which helps illuminate both cheekbones evenly, prevents dark shadows in the eye sockets, and makes it easier to assess skin tone accurately.
- Avoid direct sunlight: Harsh sunlight hitting your face directly causes glare and squinting, and creates patchy, overexposed (blown-out) areas on your forehead and the sides of your nose.
- Strictly avoid overhead ceiling lights: Fluorescent tubes or recessed LED lights shining from directly above create deep, dark shadows under the eyes, along smile lines, and beneath the chin—causing a loss of detail in shadowed areas.
- Tip: Stand 0.5–1 meter away from the wall: Regardless of the wall behind you, stand a short distance away from it. This helps minimize shadows cast on the wall behind your head. Choose a simple background so the Rakuphoto ID photo tool can replace it with a white or blue background; carefully check the hairline after processing.
2. Positioning your phone: Minimizing distortion caused by shooting too close
The most common mistake when taking photos at home is holding the phone for a selfie with one hand at a distance of 30–40 cm. When the front-facing wide-angle lens is too close, it causes perspective distortion: the nose and lips appear unnaturally large, while the ears and jawline look smaller, making you look unrecognizable in the photo.
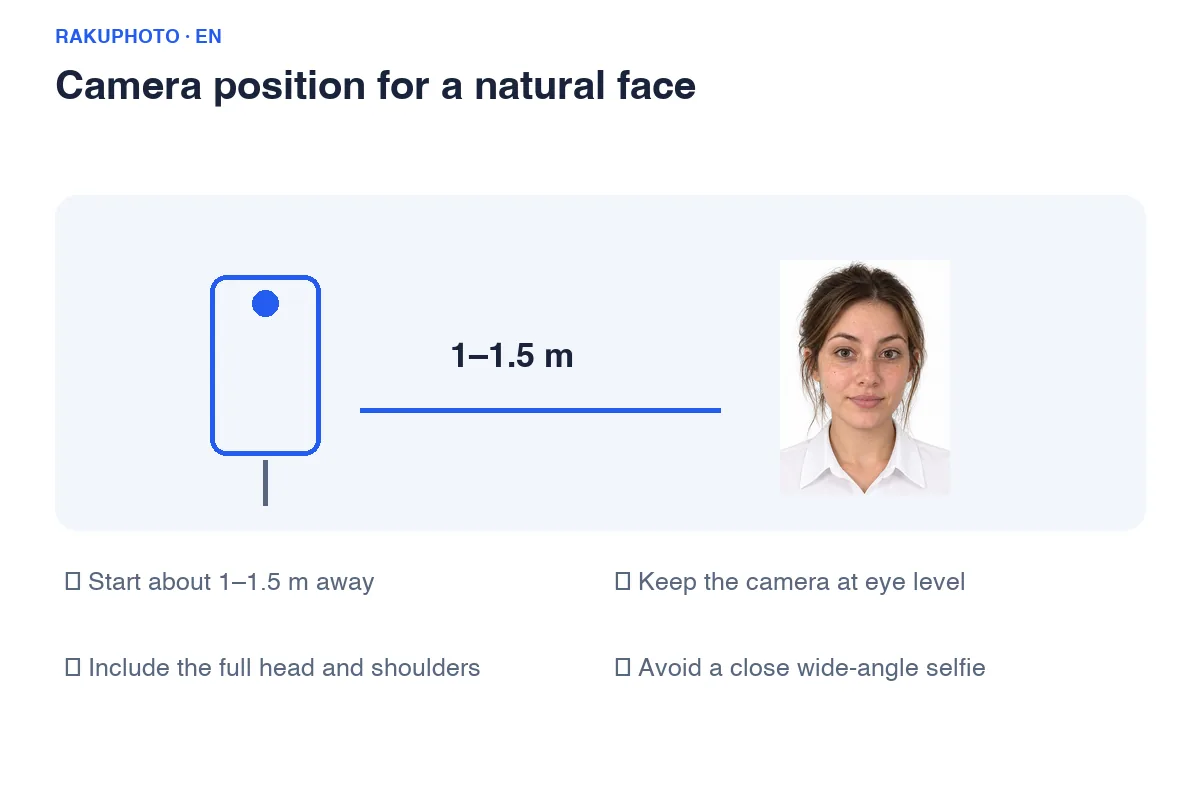
- Start with a distance of about 1–1.5 meters. Place your phone on a tripod or ask a friend or family member to hold it while taking the photo from 1.5 meters away. Check how your face looks in the preview and adjust the distance accordingly; avoid using the ultra-wide-angle mode.
- Keep the lens at eye level: The camera must be aligned with your eyes. Shooting from above (the typical "social media selfie" angle) can distort the proportions of your forehead and chin. Shooting from below can reveal a double chin and show your nostrils.
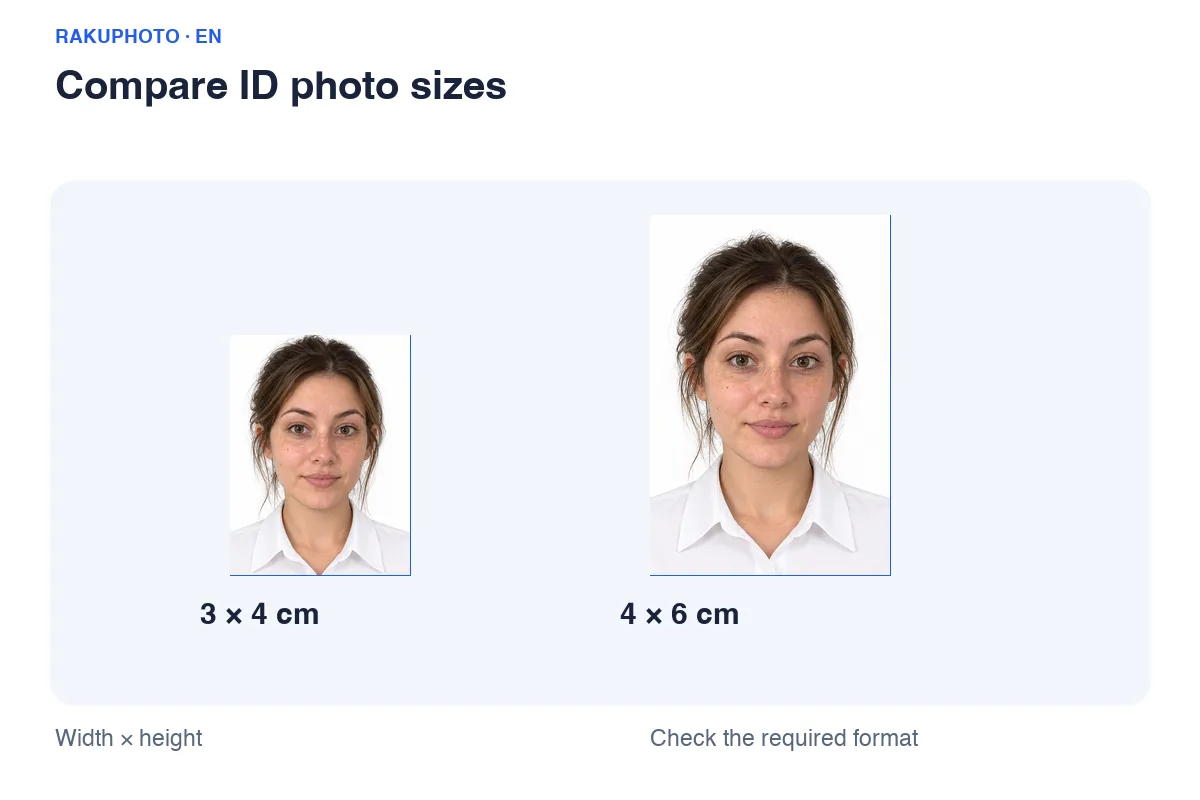
- Shoot a wider frame (including the chest and space around the shoulders): Do not zoom in too close to the chin or crop the top of the head when taking the photo. Shoot a wider frame to give the system enough space to align the image and crop it to the correct 3x4 or 4x6 ID photo ratio.
3. Posture, hairstyle, and attire suitable for the recipient
To ensure your ID photo for public services, passports, or visas is not rejected, check the specific regulations of the relevant agency or country. When preparing your photo, follow these guidelines:
- Sitting/Standing posture: Sit or stand with a straight back, relax your shoulders naturally, and keep them level. Keep your head straight and look directly into the camera lens (the small black dot on the phone), not at the screen.
- Facial expression: Keep your mouth naturally closed—do not show your teeth—but relax the corners of your mouth slightly so your face looks pleasant and not tense or rigid.
- Keep hair neat and away from eyes: Tuck your hair back so it does not cover your eyes or facial features. For Vietnamese passports, Ministry of Public Security guidelines require both ears to be visible; visas and other documents have their own specific requirements. Women with long hair should tuck all hair behind their backs to clearly show the neckline and shoulders.
- Eyeglasses: When taking photos for passports, ID cards, or visas, follow the specific regulations regarding eyewear; Vietnamese passport guidelines require that no glasses be worn. Glasses are prone to light glare obscuring the pupils, or thick frames blocking the corners of the eyes—either of which can cause the photo to be rejected.
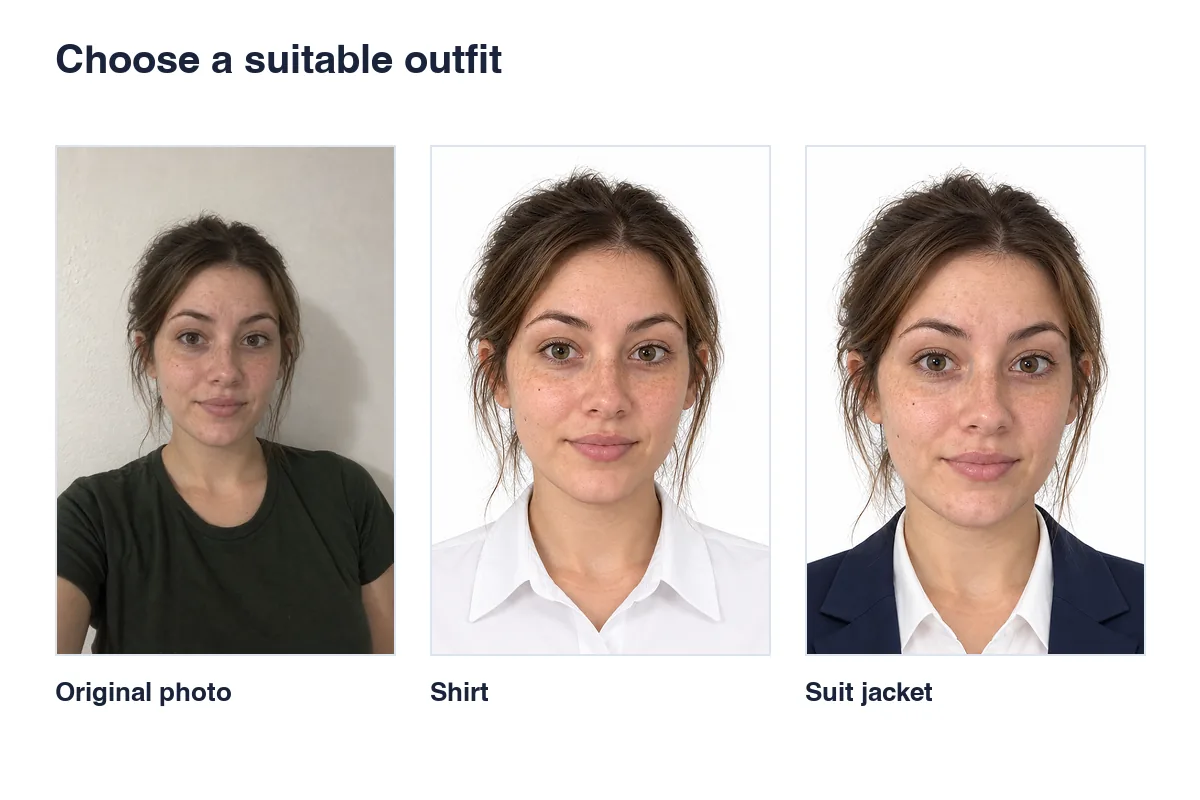
- Attire: A white shirt or a dark-colored collared shirt is usually a safe choice. Rakuphoto offers clothing options; however, since official documents allow for limited editing, it is best to wear suitable clothing during the actual photo shoot.
4. iPhone & Android camera settings for maximum sharpness
- Prioritize the rear camera: The rear camera usually delivers better quality, depending on the phone model. Use a tripod and enable the 3-second or 5-second self-timer.
- Understand the "Mirror Front Camera" feature on iPhone: In Settings > Camera, the "Mirror Front Camera" option only flips the saved image horizontally; it does not correct facial distortion. To minimize distortion, increase the shooting distance and hold the camera at eye level.
- Clean the camera lens: Phone lenses frequently accumulate fingerprints and sweat. Wipe the lens with a clean, soft cloth before shooting to ensure the image is clear and free of haze.
- Strictly TURN OFF skin-smoothing filters (Beauty Filters): Do not shoot using apps like TikTok, Instagram, or B612, and do not enable the "Beauty" mode on your camera. Filters can alter facial features or skin texture. Preserve your natural appearance and check the application's specific editing guidelines.
5. 4 errors to check before submitting your ID photo
- Hair covering the forehead or ears: Hair should not obscure your eyes or facial features; Vietnamese passport regulations require both ears to be visible, in accordance with Ministry of Public Security guidelines.
- Using screenshots or sending via Zalo/Facebook: Screenshots can reduce pixel count, and messaging apps may compress images. Use the original file and verify its sharpness. A resolution of 300 DPI is often required for printing or file export in certain applications; Changing the DPI setting does not automatically generate additional image detail.
- Dark shadow cast on the background: Standing too close to a wall under fluorescent lighting creates a dark shadow outlining the head and shoulders.
- Tilted head and shoulders: Caused by the habit of holding the phone oneself for a selfie, leading the head to naturally tilt along with the angle of the wrist.
6. Finalize your ID photo on your phone with Rakuphoto
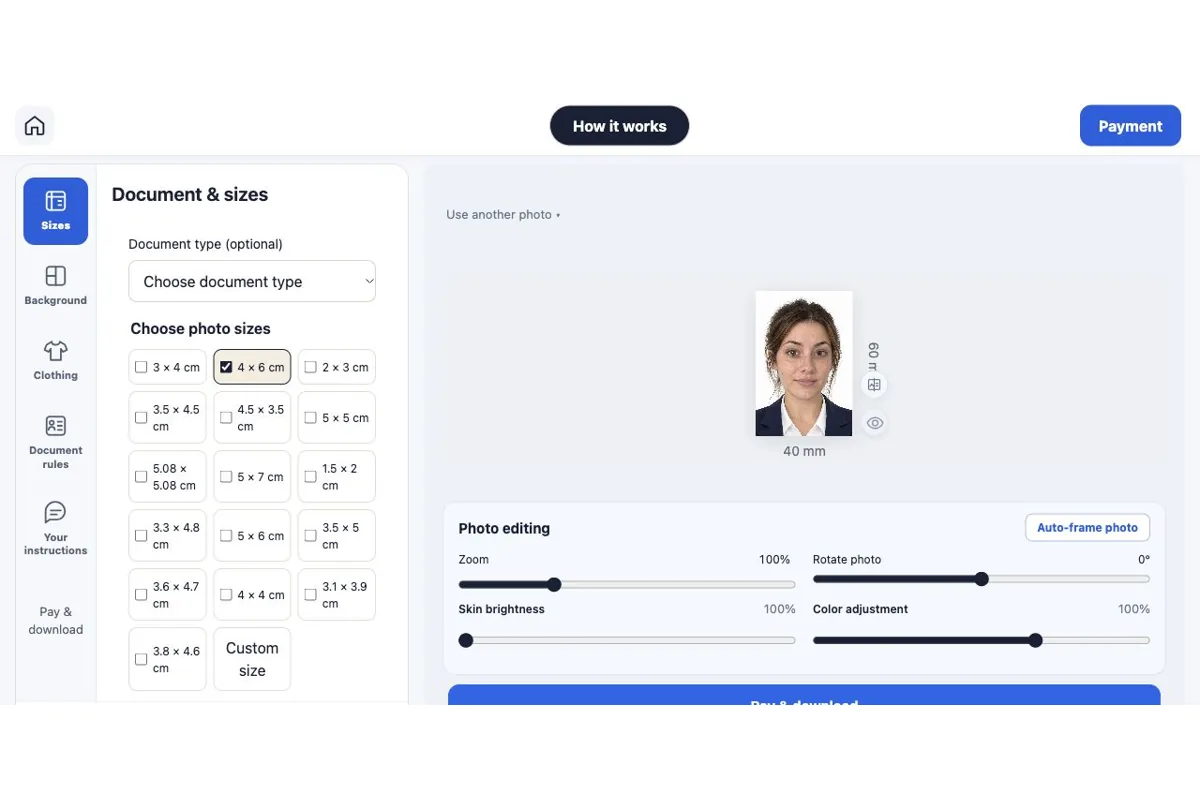
Once you have a clear photo of your face taken with your phone, you don't need to know Photoshop or complex editing tools. Visit the Rakuphoto ID photo editor to proceed:
- Automatic face detection & alignment: The tool helps align the photo to your chosen dimensions. Check the headroom, eye position, and face size; adjust if the result isn't quite right.
- Background replacement: Choose a white or blue background based on the recipient's requirements. Processing time depends on the photo and connection; check the edges of your hair, ears, and shoulders after generation.
- Add formal attire (dress shirts/blazers): Choose from various neat, professional blazer styles for men or women if you happened to take the photo wearing a casual T-shirt at home.
- Free preview – Pay only when satisfied: Zoom in to compare the result with the original photo. When ready to purchase, check the current price at checkout to download your selected sizes or order prints for delivery in Vietnam.
Check out this related article: Conversion chart for 3x4 and 4x6 cm ID photo sizes to 300 DPI print-ready pixels.
7. Frequently Asked Questions
Can I take an ID photo using my phone's front-facing camera?
You can use the front camera if the image is sharp. Position the phone steadily at eye level and far enough away to minimize distortion; avoid holding it too close to your face. The mirror/flip feature only reverses the image horizontally; it does not correct facial distortion.
Do I need a white background when taking an ID photo at home?
It is best to shoot against a simple, evenly lit background. Rakuphoto supports background replacement, but you should check the hair edges and select a background color that meets the recipient's requirements. Processed photos are not guaranteed to be automatically accepted.
What should I keep in mind when taking a photo for an online passport application?
According to Ministry of Public Security guidelines for Vietnamese passports, the photo must be 4×6 cm with a white background; you must look straight ahead, show both ears, have your head uncovered, wear no glasses, and the photo must have been taken within the last 6 months. Also, check specific file requirements and notifications when uploading to the Public Service Portal.
Is a 300 DPI photo always sharper?
No. Sharpness also depends on pixel count, focus, and compression levels. Changing the DPI setting cannot restore lost details; please use a sharp, original image file.
8. References and application checks
For Vietnamese passports, the Ministry of Public Security's portrait photo guidelines specify a 4×6 cm photo, taken within the last 6 months, with a white background; the subject must look straight ahead, with both ears visible, head uncovered, and no glasses. Please verify the guidelines at the time of submission; these rules do not automatically apply to all visa applications.
Read Apple's front-facing camera guide to understand photo mirroring options.